Wednesday, July 24, 2013

The garden at sunset

It was a lovely sunset tonight on the northern coast of California.  My wife Illijana took some photos of our gardens in the golden light of the sunset and here are a few of them.
Back flower bed


Orange reflection on the ocean

Monday, July 22, 2013

100 day peas

     Here on the cool and foggy north coast of California one of my favorite vegetables to grow is fresh shell peas.  The peas usually take twice as long to come to full size as the packages suggest, but this year they took only about 1 1/2 times as long due to our warmer than normal spring and early summer.
My favorite variety is Knight and I planted the first planting of the year on April 12th of this year.
     I soak the peas overnight to start, coat them with inoculant to help them fix nitrogen onto their roots, then put them into the soil about an inch deep.  I cover them with remay or other cloth to discourage birds from attacking the seedlings, stake them with branches or bamboo stakes, and wait.
     The first shell peas took 100 days this year, and here are pictures of the first picking.
Knight shell peas

I then spent time shelling the peas.  My dog happens to love peas so between the two of us what makes it into the bowl is reduced 10%.  Here is a picture of the shelled peas (part of tonight's dinner.)
 Bon appetit!

Wednesday, July 17, 2013

The July garden

The garden is in full flowering mode.  We have been busy collecting lots of raspberries (see previous Scarecrow pictures), picking loads of broccoli and zucchini, and enjoying the flowers.
Here are two views of the back garden flower bed.

This is a picture of the center bed out back which features lots of dahlias, double Shasta daisies, a Lavatera plant, and the tall spires of echium (tower of jewels).

Here is a pic of the lavatera:


Finally, not to ignore the veggies, here is a picture of the newly emerged final pea planting of the year.  These are shell peas.  Pumpkins are growing in the background surrounding the artichoke plants.  The large leaved plant in the foreground is rhubarb.


Sunday, June 16, 2013

The garden this week

Here are a few pictures of the garden this week.
Illijana and the scarecrow (protecting raspberries!)

Aromatic rose arch

David Austin rose (transplanted this year and doing better)

Dortmund Kordesii climber rose

alstromeria in full bloom

Dortmund and front garden bed

Moss Terrace daylilies beginning to bloom (with echium)

broccoli, beets, parsnips, summer squash

peas, squash, jerusalem artichokes, celery

roses, valerian, going toward upper beds

roses

Leontine Gervais rose over dog run, echium, ocean

Sunday, February 17, 2013

Planting strawberries

To finish the strawberry bed project detailed in the previous posting, I planted strawberry plants in the new raised bed today.  We used a variety of strawberry named "Albion" which is an everbearing strawberry with disease resistance to verticillium wilt, phytophtora crown rot, and resistance to anthracnose crown rot.  And they taste great!
The first photo shows the planting process, and the second shows the completed planting.  I dig a hole with a trowel, put liquid fertilizer in the hole (we use Maxsea, a seaweed based fertilizer), and place the plant roots in the hole, and cover them up.  We should have edible strawberries in late May onward.  Click on the photos to enlarge them.


Saturday, February 16, 2013

Building a garden bed for strawberries


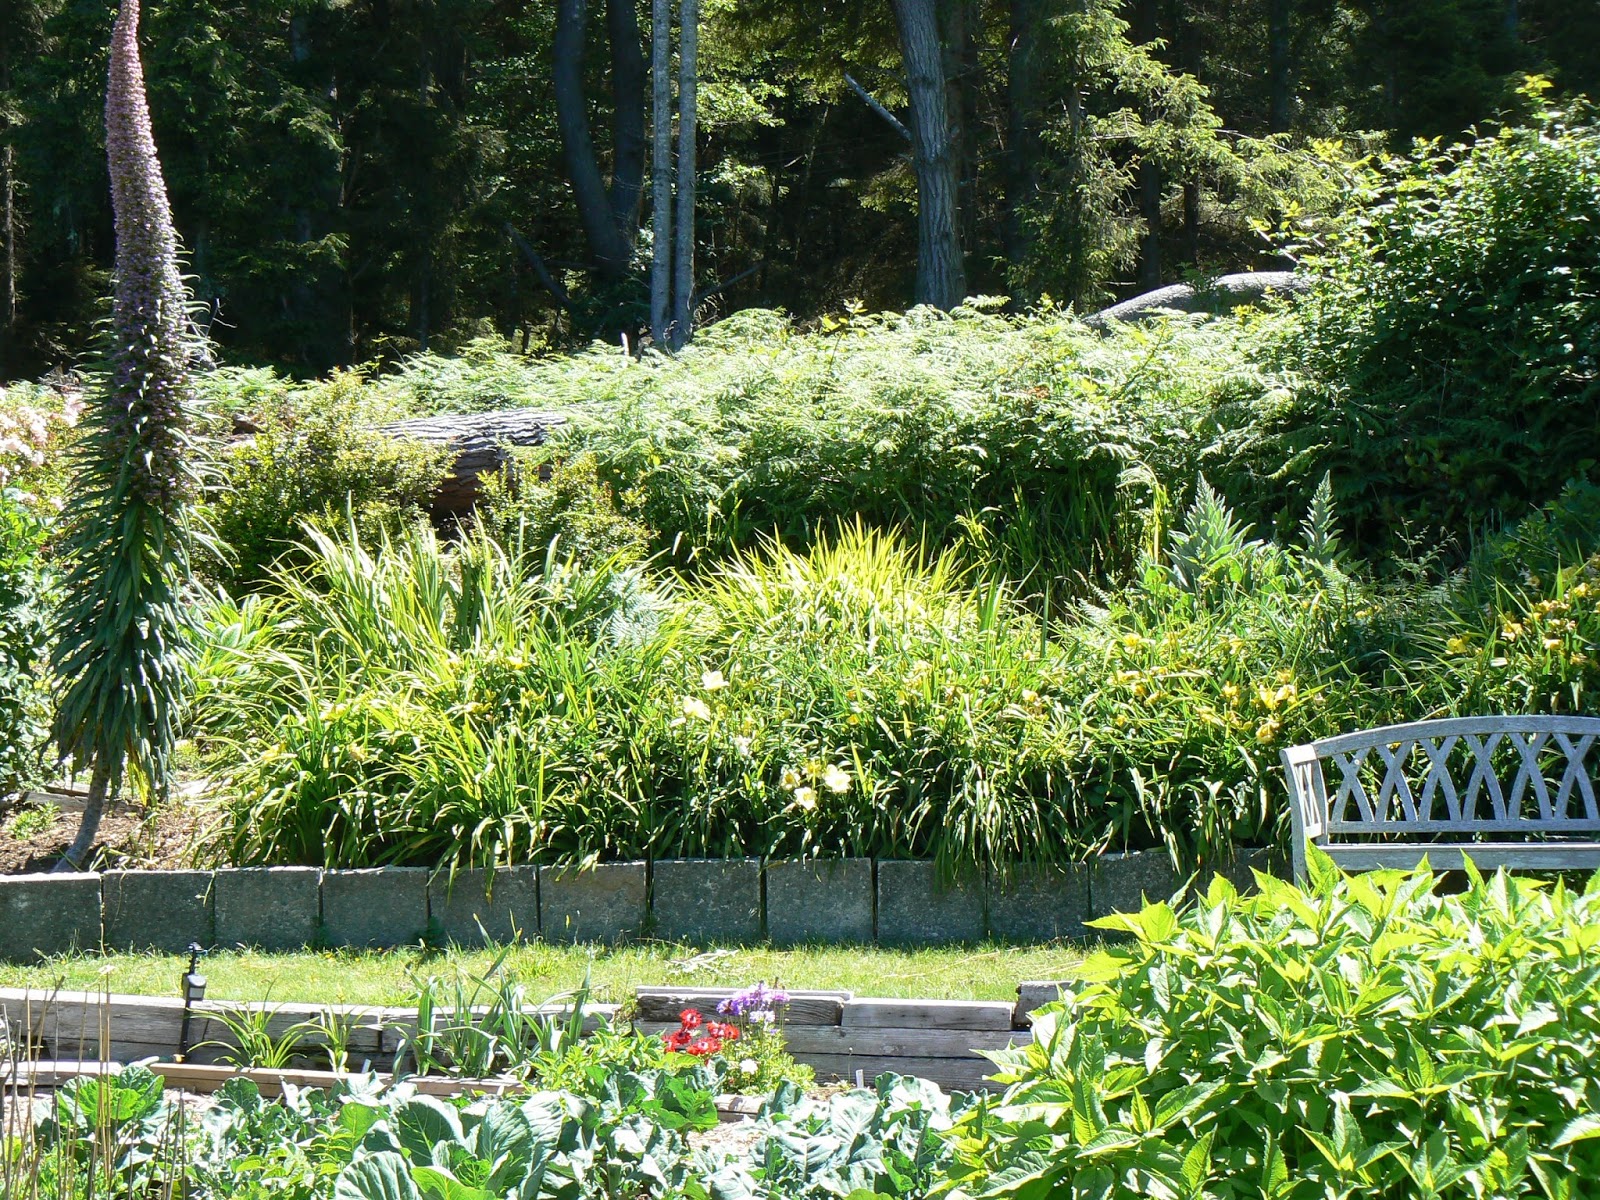
     Over the last several days Illijana and I have set about to construct a dedicated strawberry bed in our garden space.  We needed a sunny spot and found one that fit near our greenhouse.  We dug up the grass at the edge of the gravel pad we had put down for the greenhouse, dug up the weed mat that underlaid the gravel, moved some of the gravel, and laid out the bed shape.
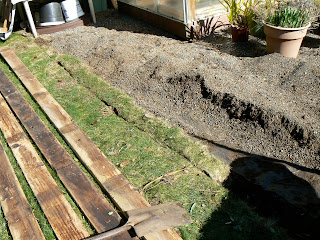
Cutting the edge
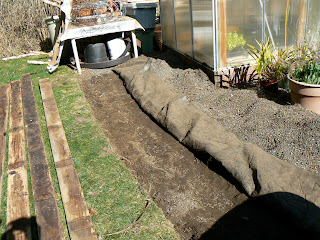
Laying out the bed shape

The next step was to construct the raised beds using recycled deck boards given to us by our neighbors.
 
We laid out the boards, cut them to size, and used an Illijana inspired design nailing them together.

I then used a garden fork to loosen the soil at the base of the bed (like a double dig technique).  In the background you can see some of the soil conditioners I used in the bed.

I amended the soils we gathered from around the yard with a mixture of blood meal, bonemeal, cottonseed meal, greensand, and lots of compost.  The next photo is of our compost screener (a recycled plastic bread tray) as we loaded compost from the bottom of the pile to place in the new bed.
Finally, after many loads of soil, amendments, and compost were added, the bed was done.  Here is what it looks like before the planting of the strawberry plants.


Saturday, February 9, 2013

Creating edges and walls in the garden

Lately, we have been working on replacing the edging on some of our garden beds.  We have used limbs from downed trees as edging on some garden beds, but the limbs tend to decompose quickly and are a bit messy.  We decided to use recycled concrete pieces for the edging on one of our backyard beds.  Here are a couple of pics of the newly constructed concrete rubble edging.


Click pictures to enlarge them.


We also had a spot that needed a "retaining wall" in the newly created garden bed area.  We used the larger pieces of recycled concrete to create a small wall.  This is a picture of the new wall.


Flowers (while never absent from our garden) are now becoming more numerous.  Here are a few of the current flowers in bloom.
crocus
daffodils
huckleberry flowers